|
Max wanted to make a couple of
wall cabinets.
One would be a multi shelf
unit for painted miniatures (shelf cab).
The other a unit to hold a
Steelers jersey (shirt cab) and it has a plexiglass front.
 Final Milling, Carcase Assembly
|
|
|
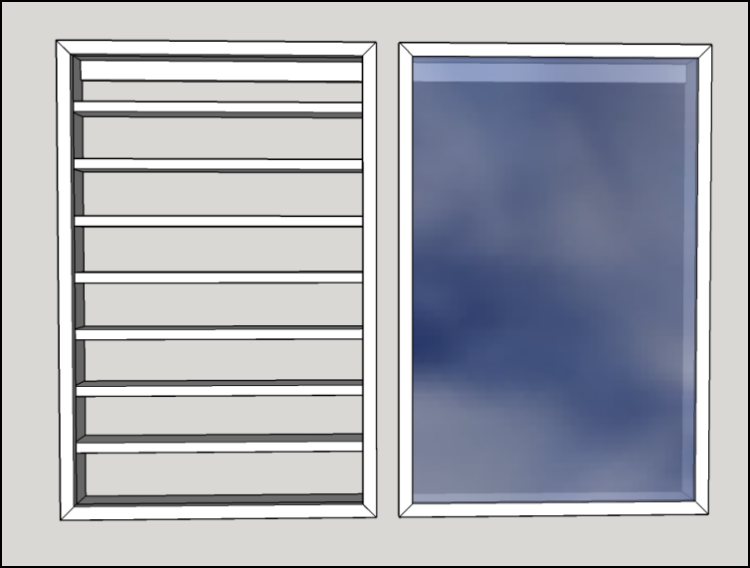
A Sketchup model of the shirt cab. Front frame holds a sheet of plexiglass.
|
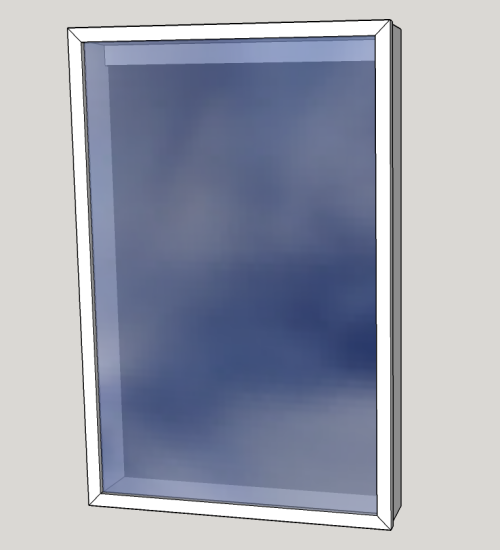 |
| The inside is a basic shell with a stiffener board at the top which will function as the anchor for the hanger. | 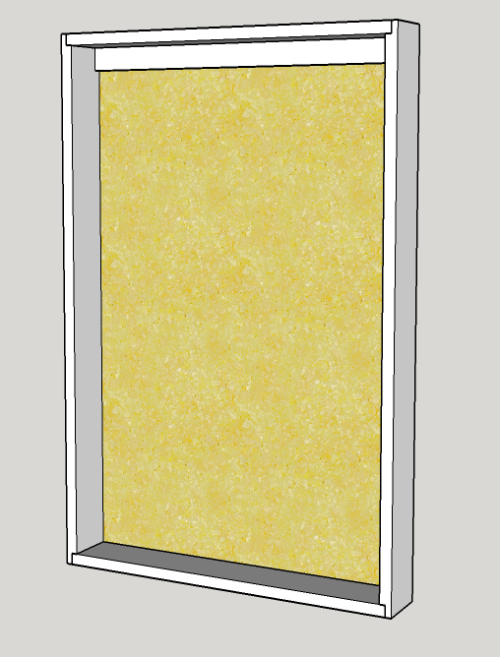 |
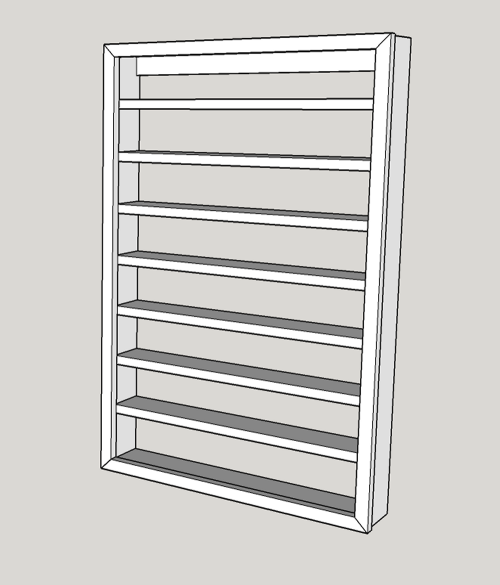
| A Sketchup model of the
shelf cab...frame has seven shelves. |
 |
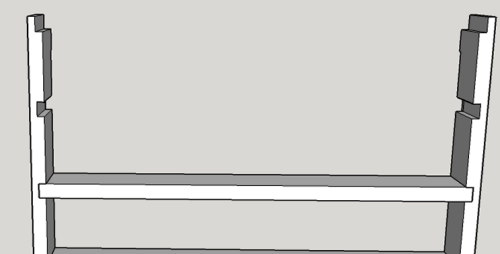
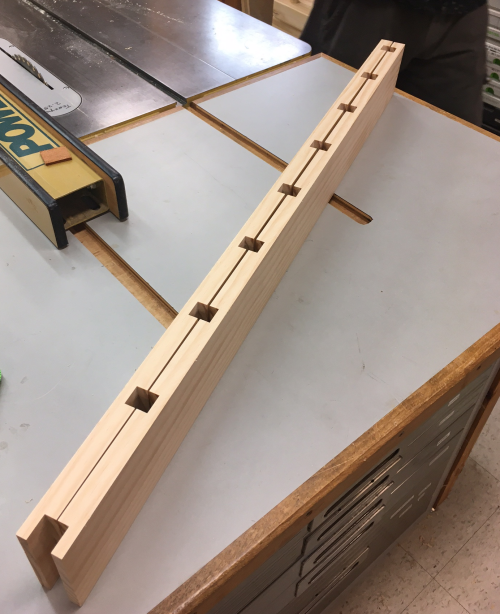
| Close up of the dadoes and the
rabbets on the stiles. |
 |
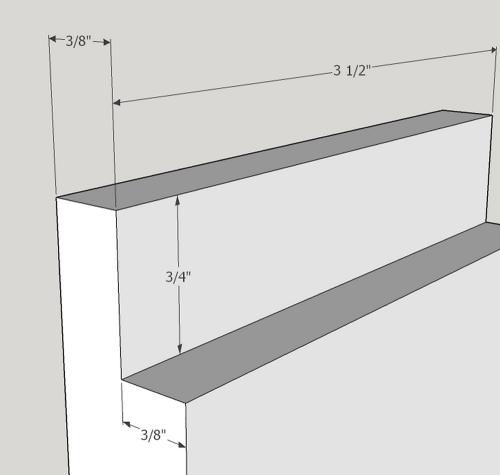
| Dimensions of the rabbet ledges
on the stiles. |
 |
|
|
|
|
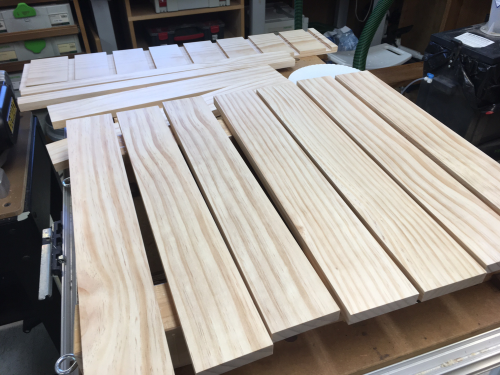
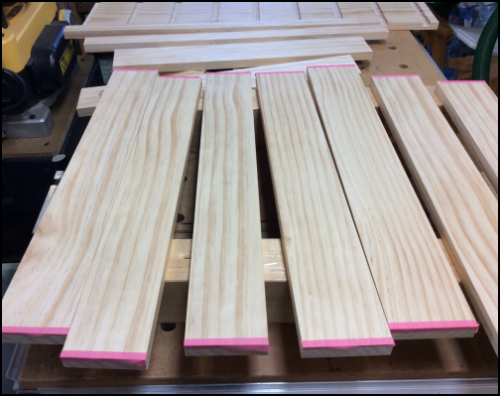
The cabinet wood in this project will be radiata pine, pre-milled,...secured at the local BORG. By design, we made the width less that 2
feet, the height less than 3 feet and depth 3.5 inches to
maximize board layouts. Secured multiple 1 x 4 x 8s and
one 1 x 8 x 8. The wider board will be used for stiles
to hold shelves.
|
|
|
|
|
Prior to assembly all interior surfaces on the sides were hand sanded and two coats of Super Blond shellac were padded on. Prior to shellac application the ends of the cross shelves were taped off at 1/4 inch to provide for better glue joints. |
 |
|
|
|
|
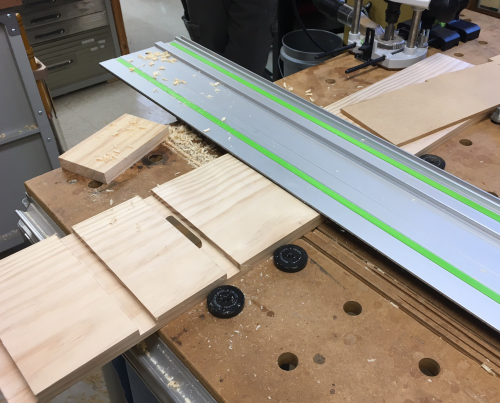
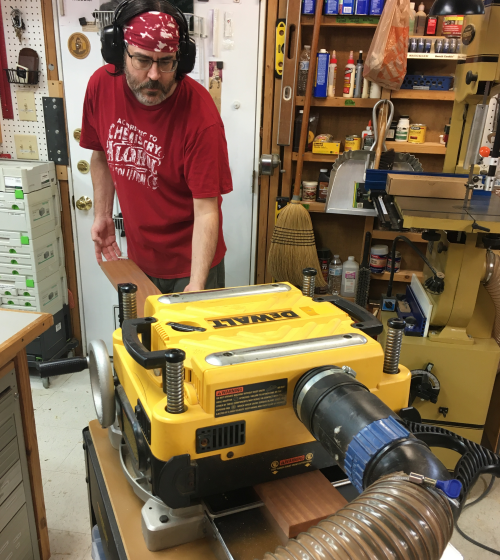
The two stiles had the dadoes milled at the MFT/3 table using a three quarter inch router bit. Depth was 3/8 inch. For some reason this bit was slightly
undersized...and the shelf wood was slightly oversized...we
ended up having to surface plane the shelves a hair to make
them fit.
|
 |
|
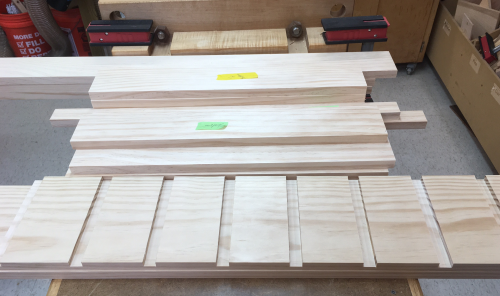
All of the material for the shelves,
rails, stiles, and stiffeners were milled from radiata pine.
|
 |
|
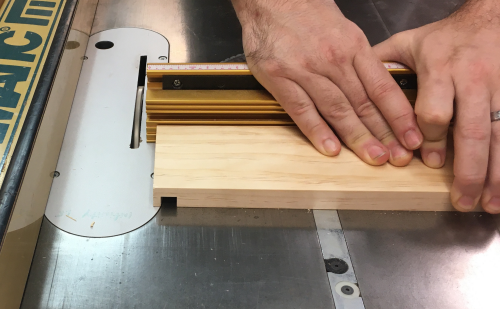
After the two stiles were
grooved...ripped to 3.5 inches...mirror stiles.
|
 |
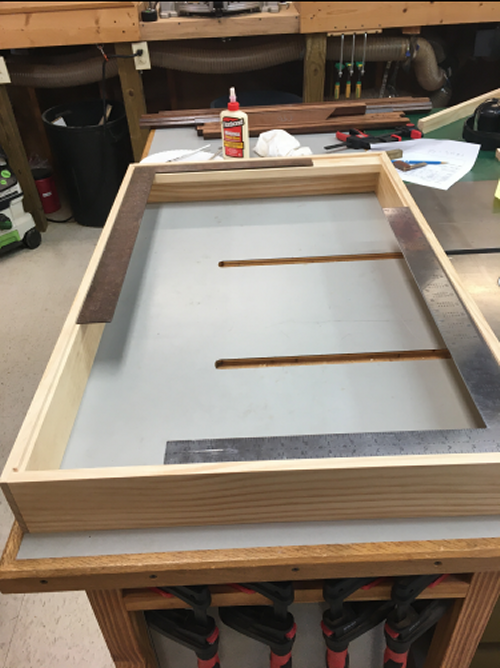
| Shelf cab carcase glued and clamped...you can never have too many clamps. | 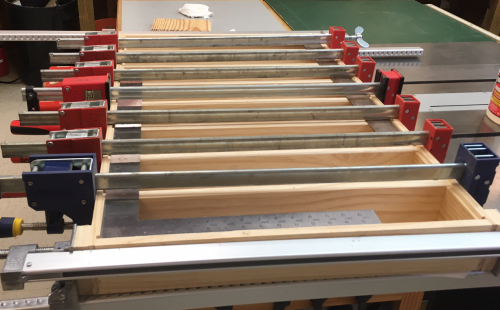 |
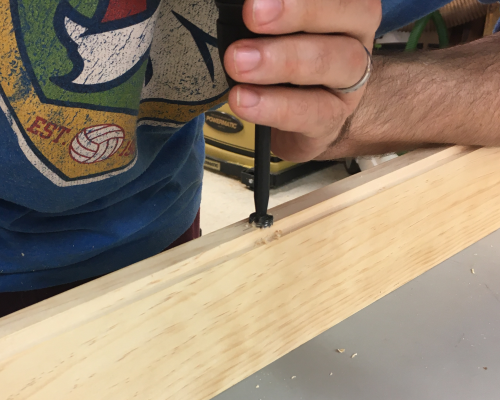
| Rabbets on stiles for shirt cabinet were made crosscutting on P66 with Infinity .25 blade. | 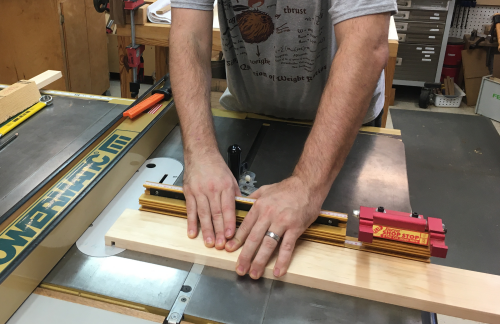 |
| Then nibbling the rest of the
rabbet... |
 |
| We had a oops moment...we forgot to chop to length on the two stiles...found out at glue up and had to make new rabbets...did this at bandsaw and with a handsaw. | 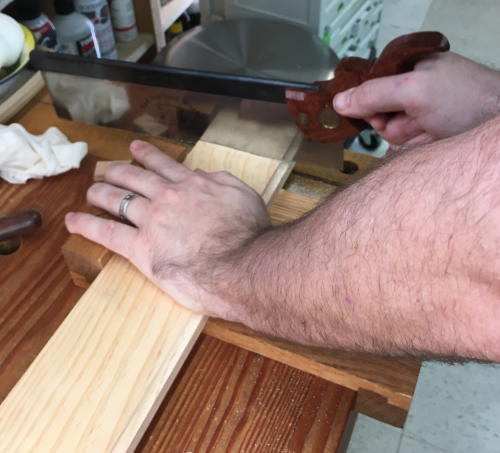 |
| Frame for shirt cab was glued and
nailed... squared up |
 |
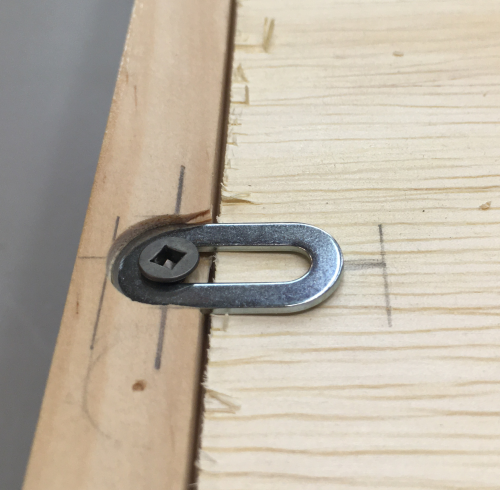
| Original plan for the frame on
the shirt cab was that the frame and plexi front would be
removable...held by magnets, dowel indexed. Plan was altered and front frame will be glued on and the rear panel will be removable. We used elongated washers to create easy to remove anchor points. Countersunk with 1/2 inch Forstner. |
 |
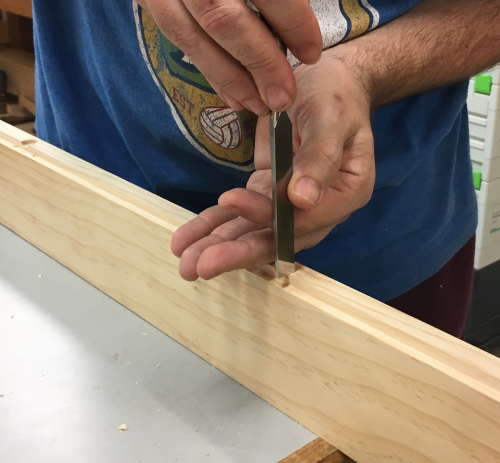
| Edges trimmed with chisel. |
 |
| Secured with #6 x 5/8 square head
screws |
 |
| Hanger for jersey was shaped at
bandsaw, edges rounded with router, and 2 shellac applications. |
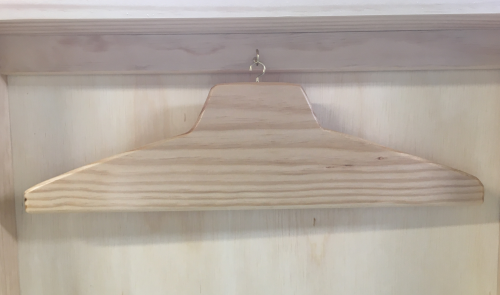 |
| Hanger was altered...trimmed at P66...sanded to shape. | 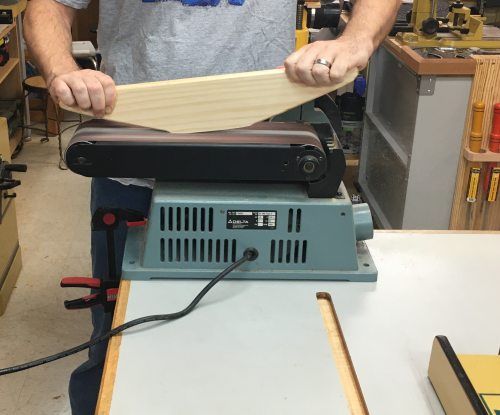 |
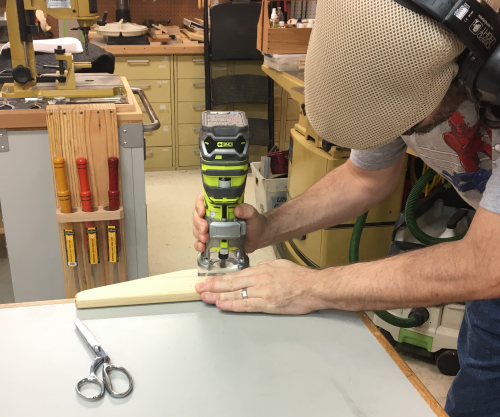
| Edge rounded with router. |
 |
|
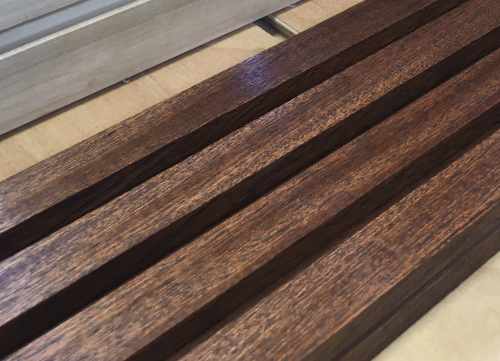
Max decided he wanted darker wood on
the face frames...we pulled a piece of mahogany from the
attic...jointed and surfaced the wood.
|
 |
| The face frames rails and stiles were chambered at the router table...45° | 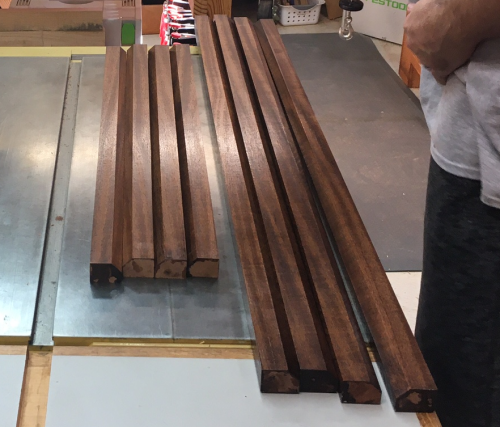 |
| Max stained the mahogany stock with a coat of stain for the dark color and put two coats of Super Blonde shop mixed shellac. |
 |
| Stain |
 |
|
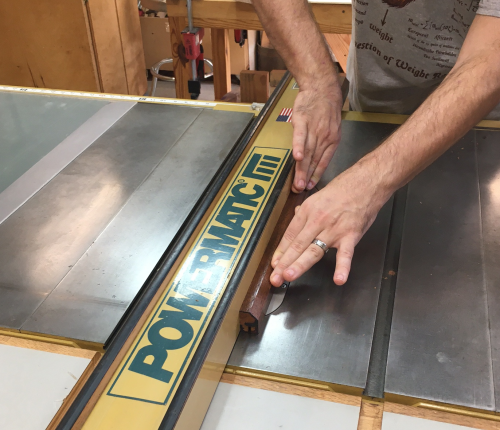
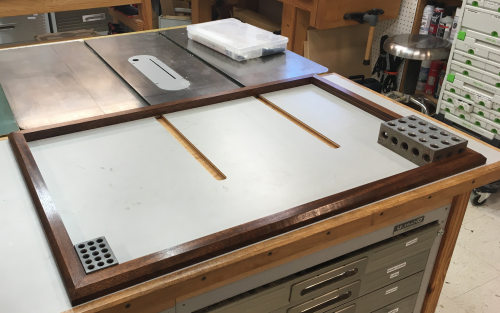
The pieces for the frame that will
hold plexiglass were grooved with rip blade on the P66.
|
 |
| All of the rails and stiles had mitered joints...cut in batches to length at the chop saw. | 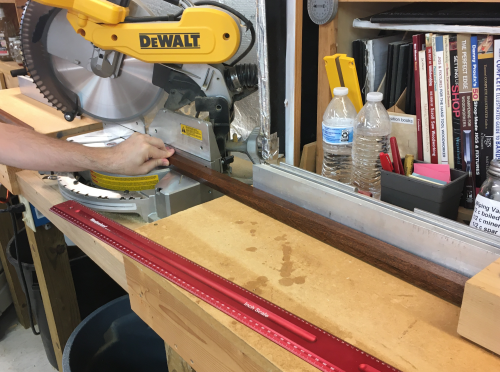 |
|
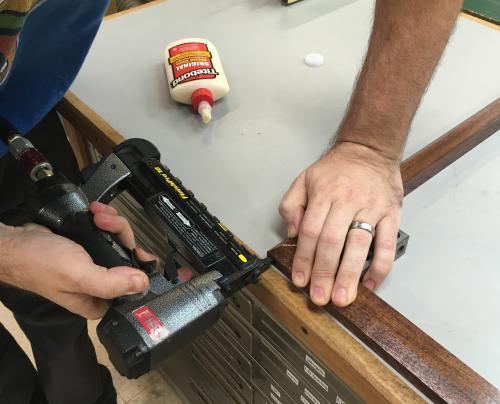
Frame miters joined with glue, secured
with 1 inch #23 pins.
|
 |
| Frame squared up |
 |
| Frame glued and clamped...you can never have too many clamps. | 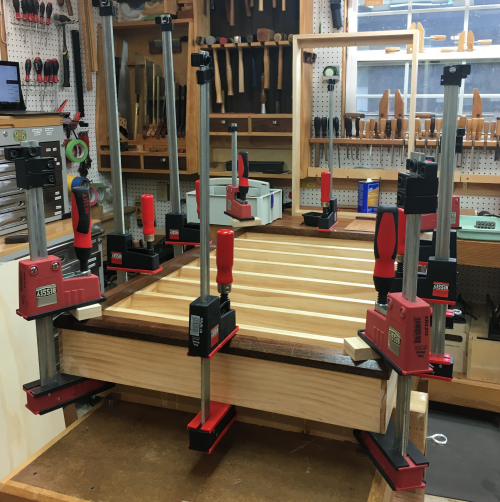 |
| Frame with plexiglass...glued and clamped...as always, you can never have too many clamps. | 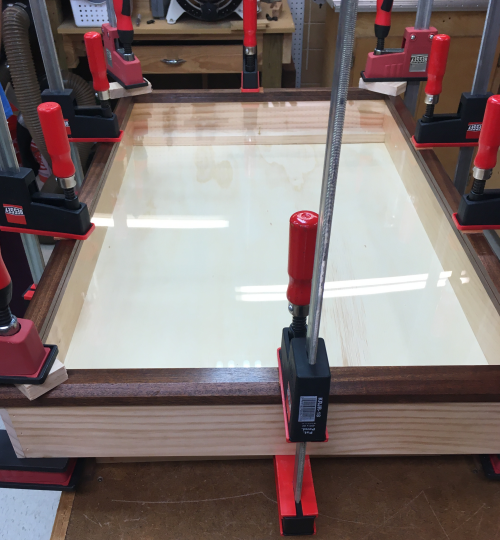 |
|
|
|
|
Hardware mounted
|
|
| Jersey etc in box | |
| The cabinets on the wall. | |